When it comes to a remodeling project, many homeowners consider including a new wall texture in their houses. If you are one of them, take a gander at these wonderful wall texture types for some fresh inspirations.
The right texturing can take your drywall from plain to polished. Here, you will find various styles. They come with their upsides and downsides. We also provide you with wall textures applied with a sprayer and by hand.
1. Crows Feet
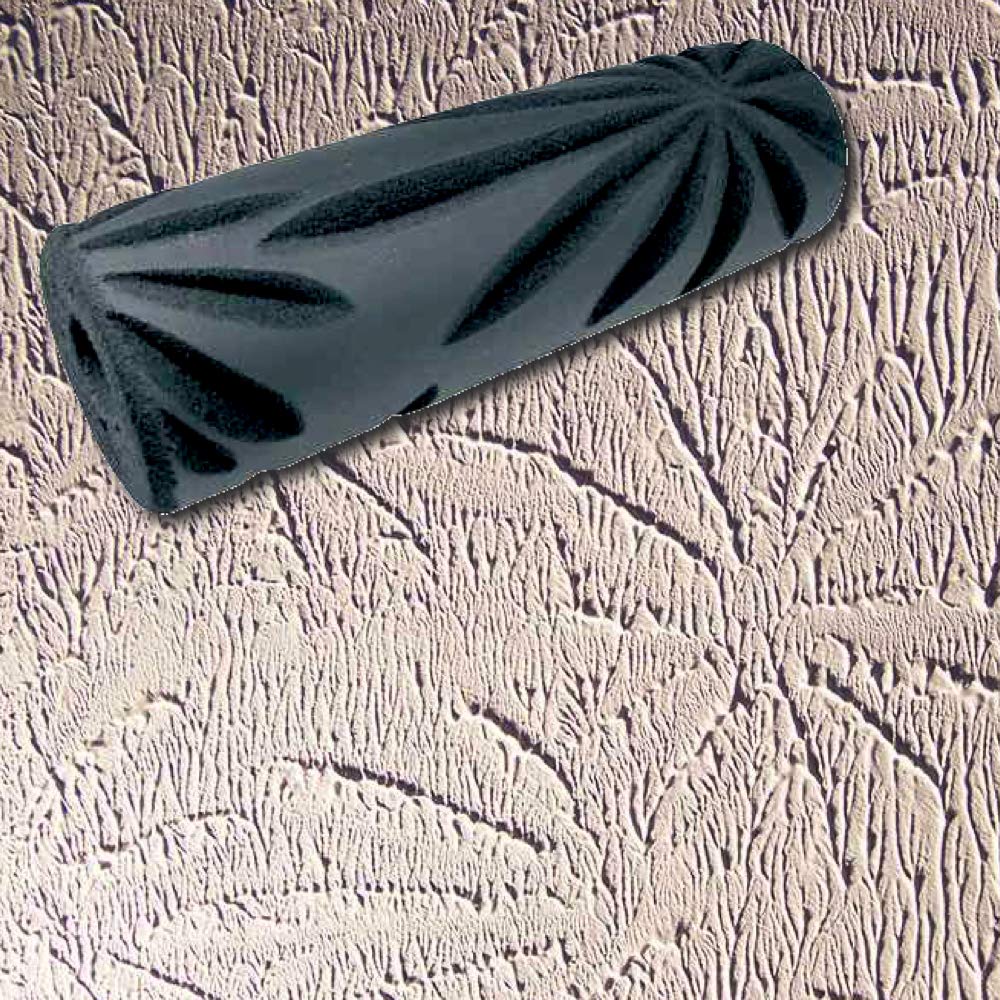
As the name implies, this type of wall texture resembles crows’ feet. You can use either a texture roller or two oval-shaped stomp brushes. Make sure your brushes have stiff bristles.
Before the application, your mud must be thinned until it reaches the consistency of pancake batter. Then, push the drywall mud upwards. The brushes truly help you create the crows’ feet pattern with ease.
Crows feet is a nice option for you who desire a more orderly wall texture. It also serves as a decorative accent. Furthermore, such type produces a distinctive appearance and covers up wall imperfections.
Speaking of modern wall texture types, you definitely will not go wrong with crows feet. Besides, it is visually pleasing. However, it tends to attract dust and debris into its deep grooves.
2. Sand Swirl Wall Texture Types
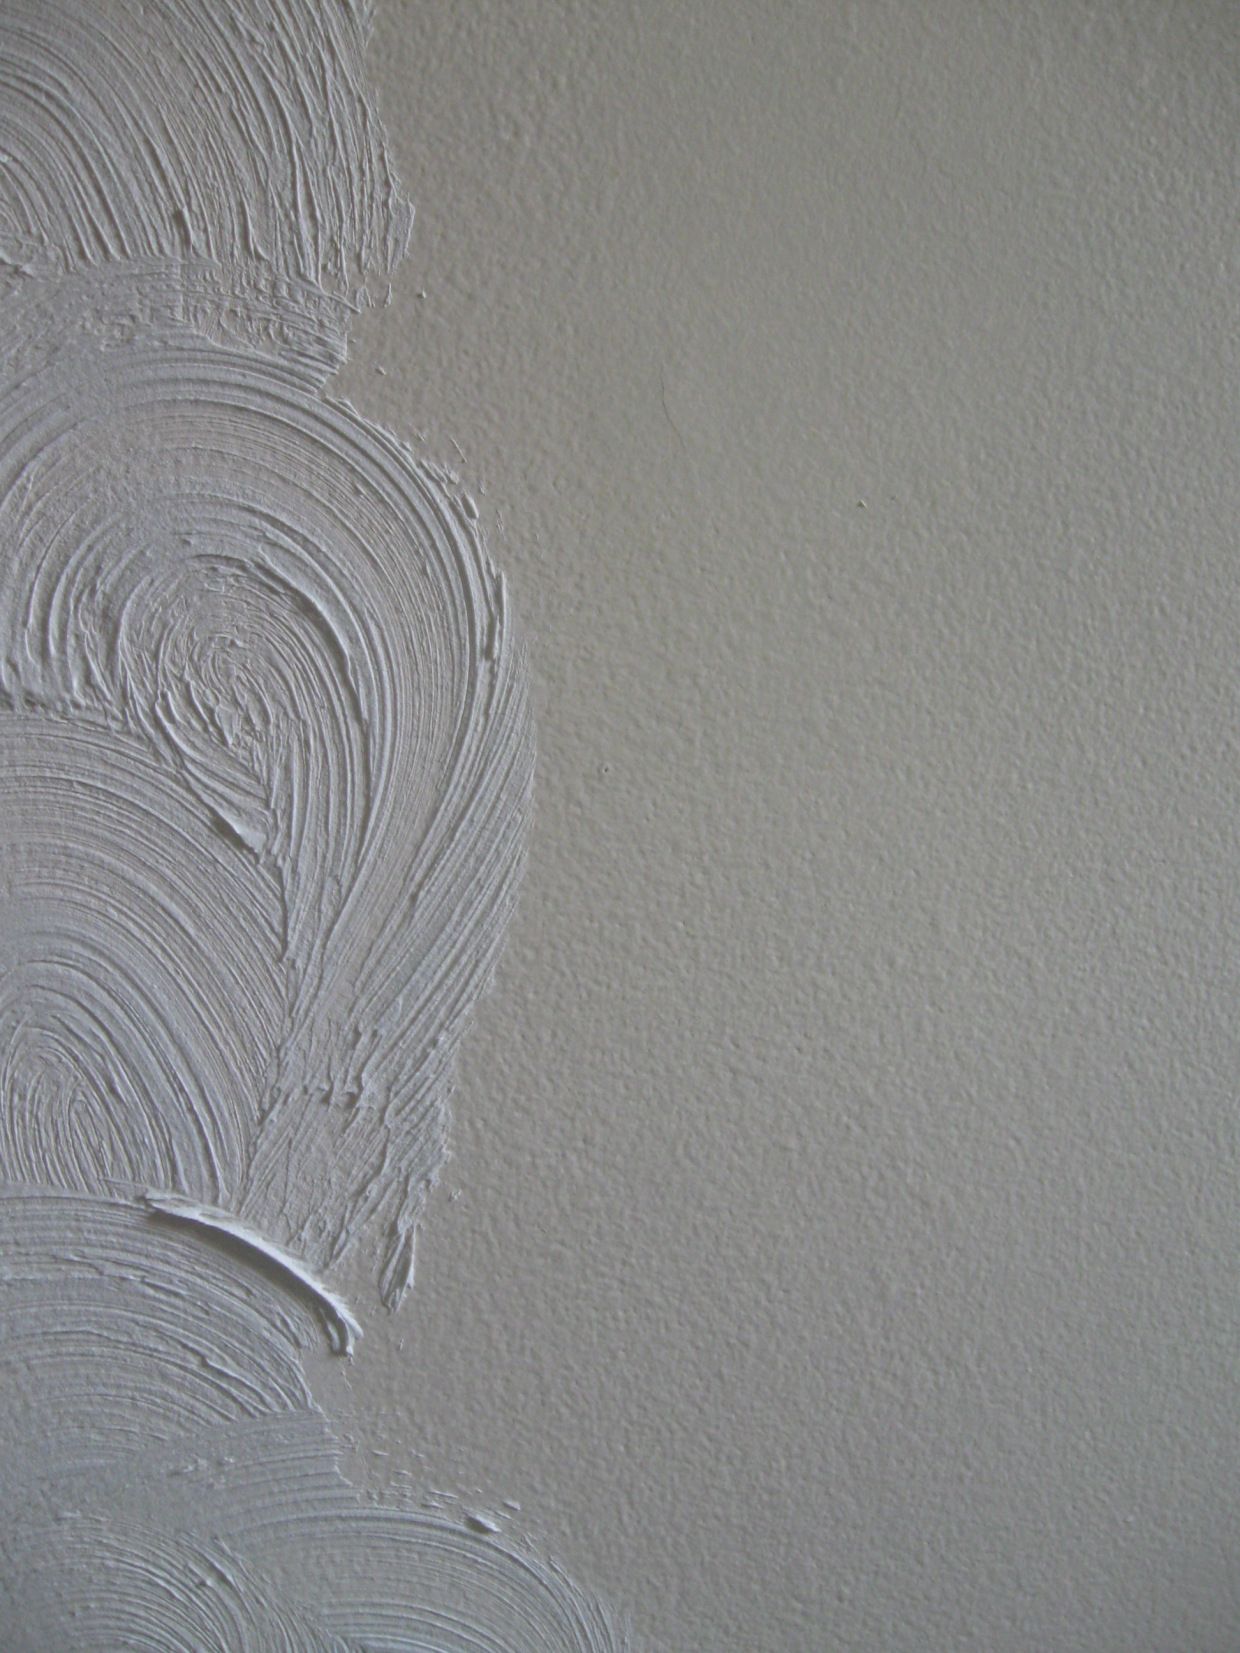
Sand swirl is one of the most popular wall texture types. It requires some practice to get a perfect result. Normally, the job employs two people to make the style. They apply the perlite primer on the wall and form arched patterns.
If you are into this drywall texture, remember to mix the primer with sand first. That way, a bumpy surface can be achieved. Do not forget to do circular hand motions when texturing your wall.
For an easier job, utilize a bristle paintbrush. It enables you to generate a looser pattern. Dip it into the mud bucket and create sand swirls. Another option is to draw swirls in the pre-applied mud bed.
The patterns themselves can be simple such as half fans’ rows. Meanwhile, the complex sand-swirl patterns are spirals and interlocking Cs. They all are stunning in their way for sure.
3. Stomp Drywall Texture
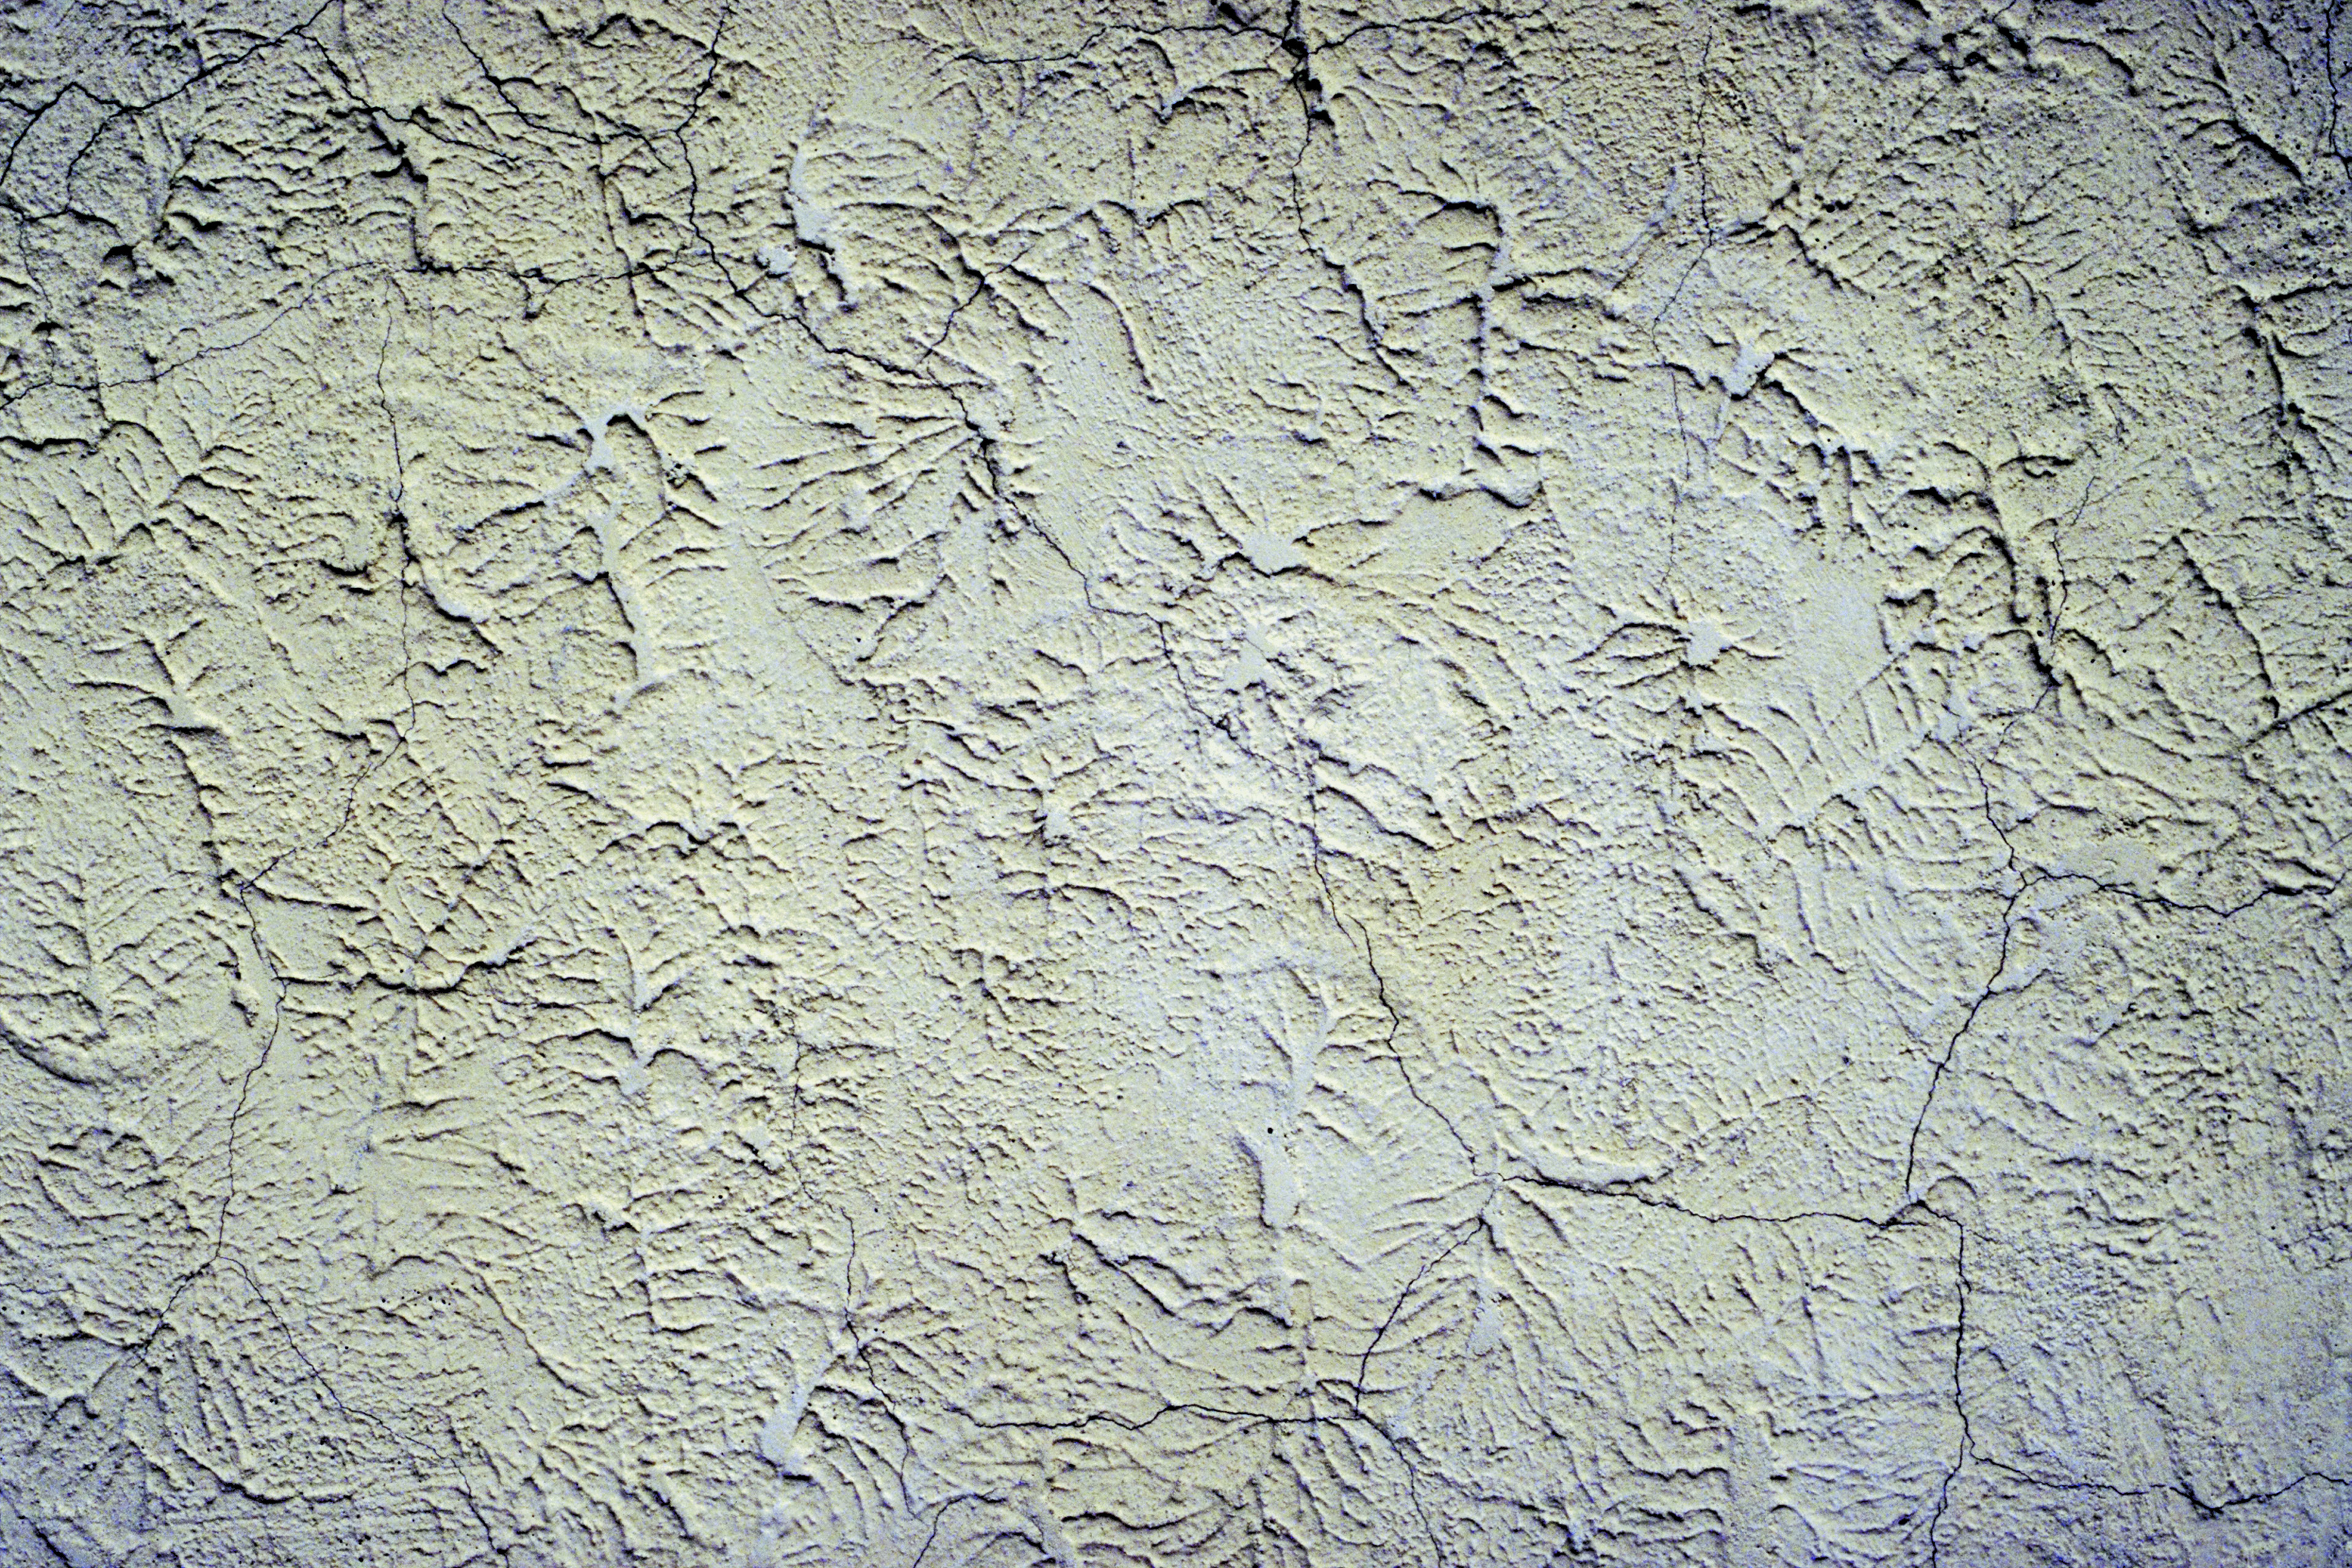
Are you obsessed with older techniques? Picking a stomp wall texture is the best way to go. Before mastering this cool method, purchase a long bristle brush and prepare wet mud.
Moreover, you have to dunk the brush in a wet mud bucket. Then, press it strongly against your wall and tug it quickly. Repeat this process until walls with ridged texture are gained.
Stomp brush wall texture helps hide wall repairs. The application of such a technique is somewhat random since it aims to make a nice replicable surface. Nevertheless, it still takes practice.
Many dwellers and designers prefer stomped ceilings to the wall ones for a good reason. The ridges of the stomped wall are sharp. They catch the passerby’s clothing, not to mention they will be easily knocked flat.
4. Skip-Trowel Exterior Wall Texture Types
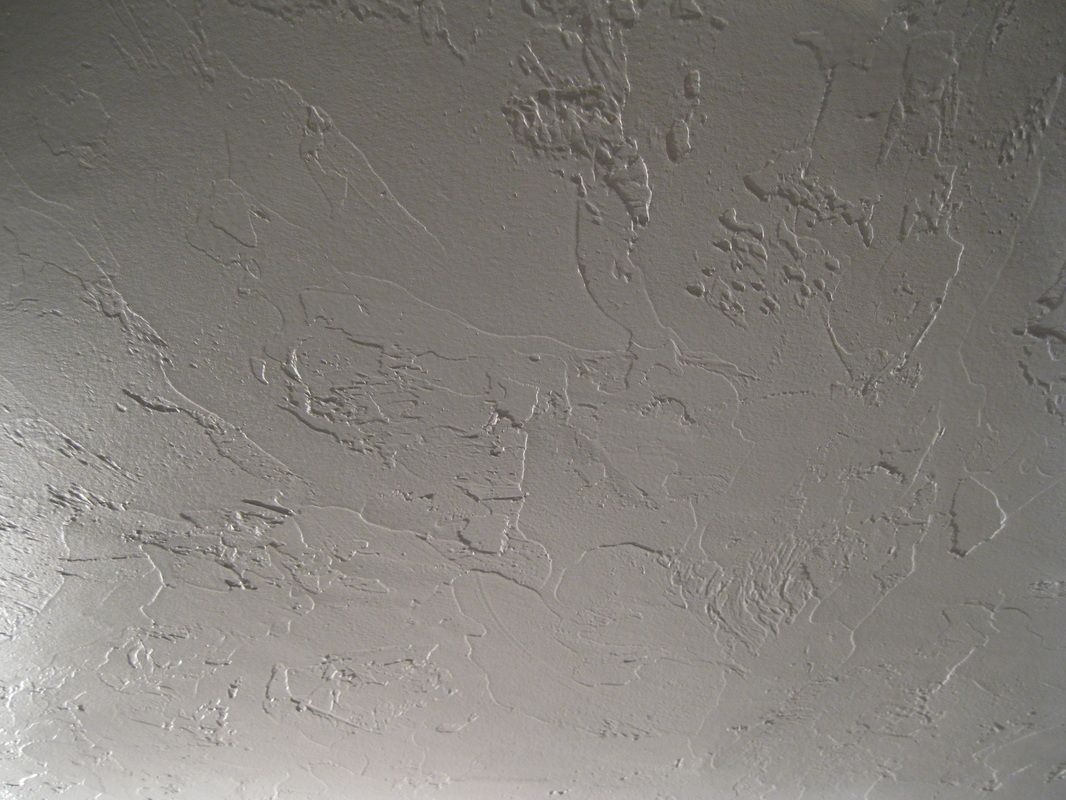
This technique is highly desirable because of its artistic flair. To accomplish skip-trowel texture, you must apply wet mud to the wall by your hands. The 18-inch curved drywall knife is utilized to get thin mud layers.
You need to angle your knife right. Therefore, it can skip across the wall surface and create an awesome multilayered texture. Meanwhile, the clean skip trowel helps produce rounded sections by pulling mud pieces up.
Moreover, skip-trowel is very similar to knockdown wall-texture types. On the plus side, it is well spaced and more spread out.
Skip trowel texture’s depth varies widely. It depends on how thick you lay down your wet mud in the first step. The thicker your coat, the more mud must be moved to make the top layer.
The best mud consistency is neither too thin nor too thick. If the mud is runny, it certainly will slide down the drywalls. On the other hand, you cannot spread the wet mud over the walls in the super thick ropiness.
5. Comb Wall Texture
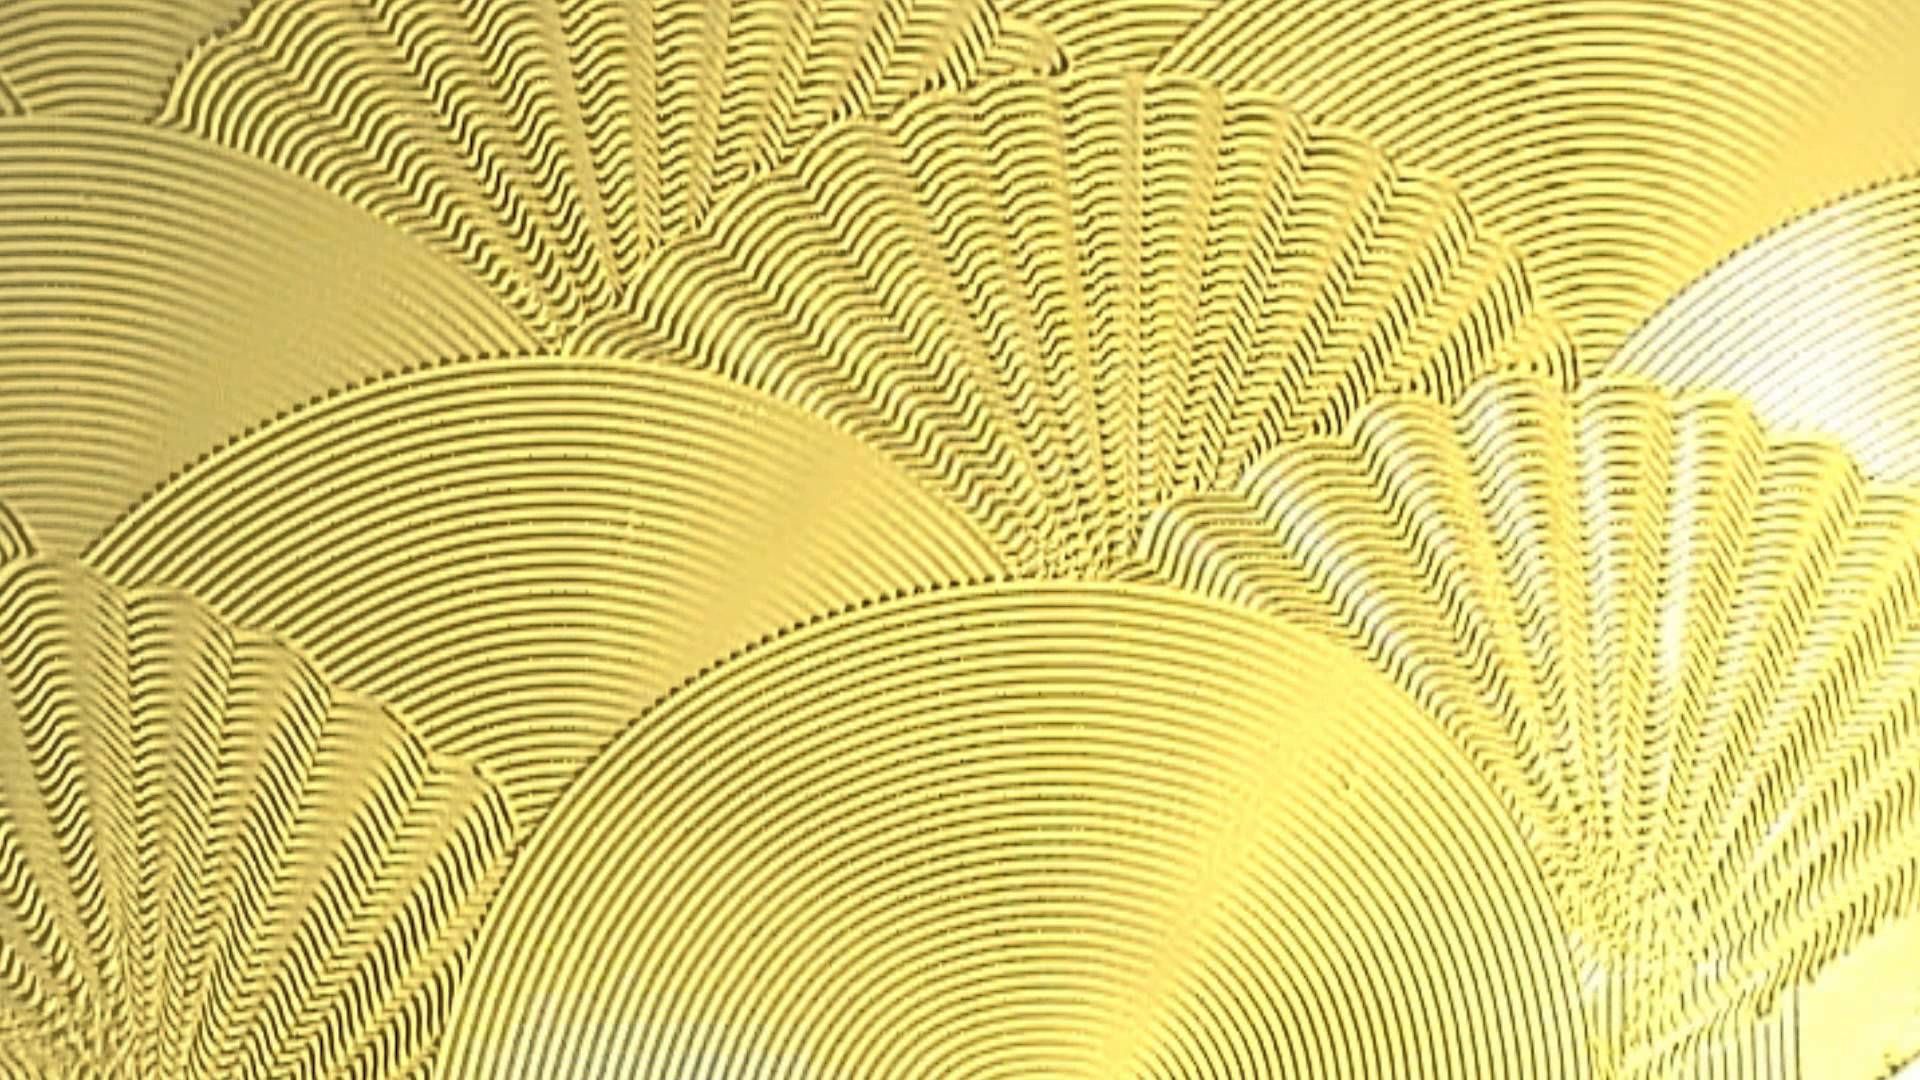
For you who are crazy about striking wall surfaces, look no further than comb texturing. To create the rainbow arc patterns, a trowel that has small teeth is needed. It allows you to make lines and grooves at varying angles easily.
Since the project is quite time-consuming, there must be two people texturing the drywall. One person applies the wet mud to the wall, while the other generates rainbow-like patterns using sprayer and comber.
Moreover, the combing pattern is characterized by its planned appearance. It is relatively easy to replicate when your wall requires some needed repairs.
Like many wall texture types, there are simple and complicated applications. Regardless of your pick, it is such a nice way to infuse character into your house. It can cover up hideous walls as well.
6. Rosebud Texturing
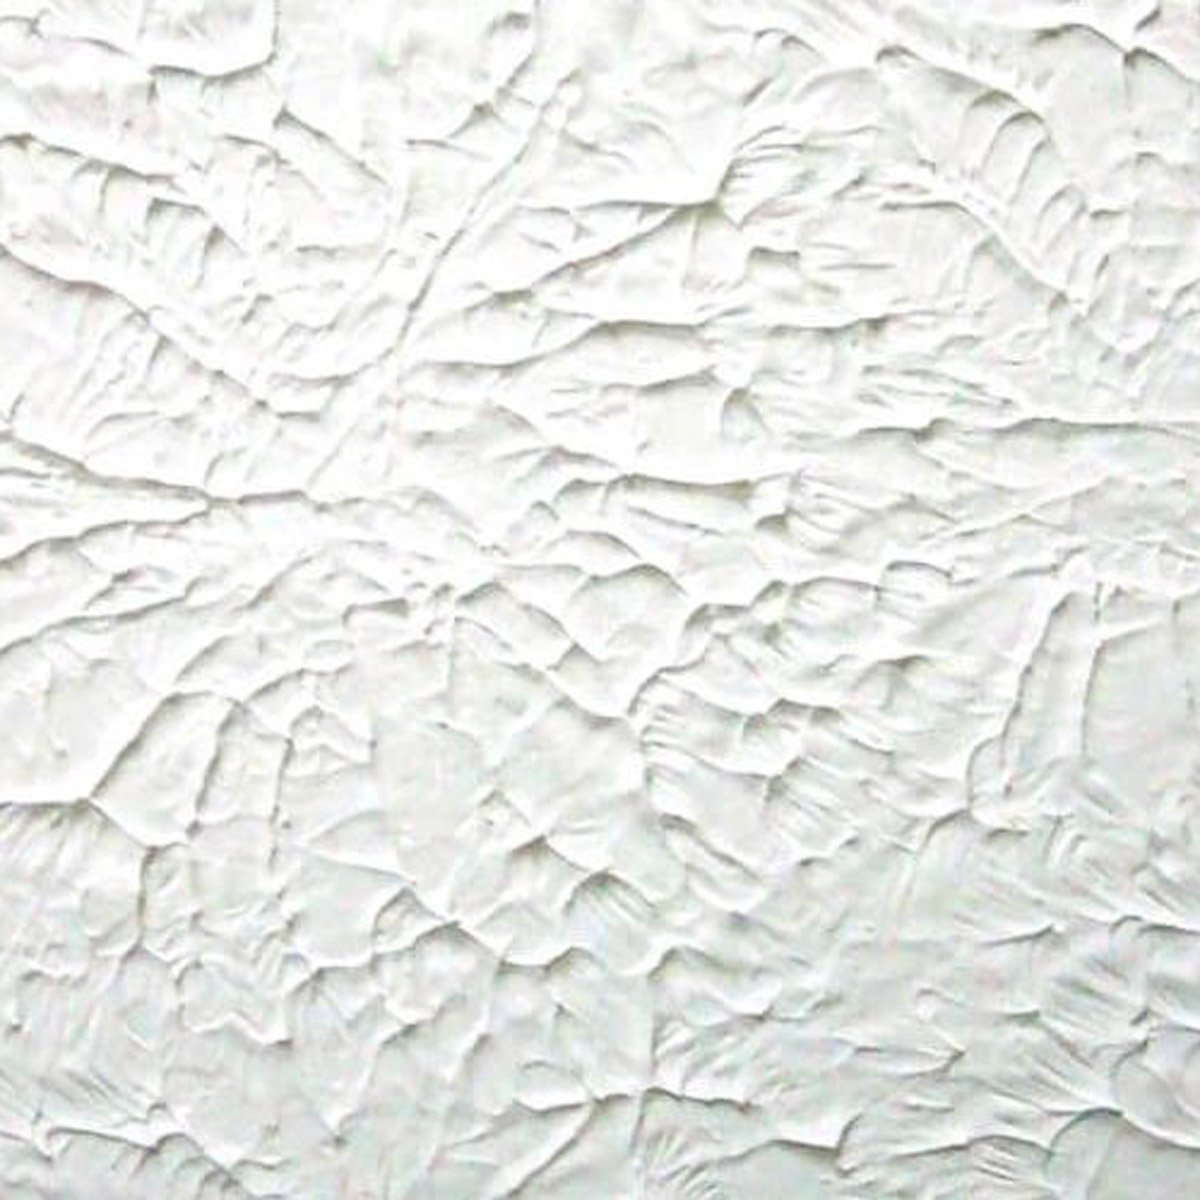
Rosebud wall texturing is a stomp brush technique. However, it has an even application, so you will not find any overlapping stomp. The round pattern resembles rose along with its bud and petals.
The pattern of rosebud is obtained by utilizing a brush to create circles in the mud. You have to repeat the patterns for sure. Before the application, practice it on your old drywall first.
The rosebud technique is suitable for a flower person. It offers a stunning wall texture and lends the room visual interest. Besides, it hides flaws across your drywall surface.
As with other intricate wall texture types, rosebud pattern is hard to apply. The jagged ridges of rosebuds catch the passerby’s clothes, they will get knocked flat with ease on top of that.
7. Wall Texture Types Orange Peel
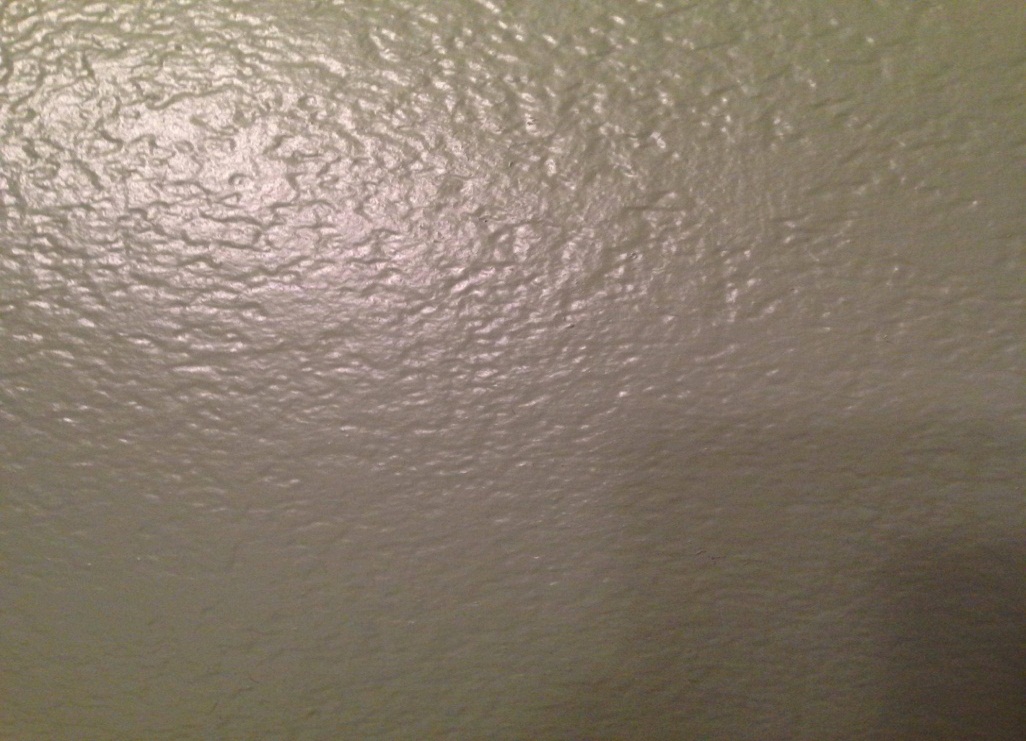
Orange peel is certainly one of the popular drywall textures. As the name indicates, its dimpled texture looks like the fruit rind. The application itself is similar to a knockdown wall texturing.
You must take a few steps before creating an orange peel pattern. First, mix the drywall mud with water until it becomes a thick liquid. Then, sand and clean your walls.
Furthermore, you also have to prime your drywall. Prepare a sprayer, nap roller, and compressor to make your project easier. Once the first coat is dry, apply the second layer.
Unlike the knockdown texture, you do not need to smooth out the paint. Rather, apply primer and paint the drywall instead. That way, a beautiful, bumpy wall surface is gotten.
The orange peel texture design has gentle curves and produces an elegant look. Moreover, you can get the applicators easily at your local home improvement stores.
8. Slap Brush Technique
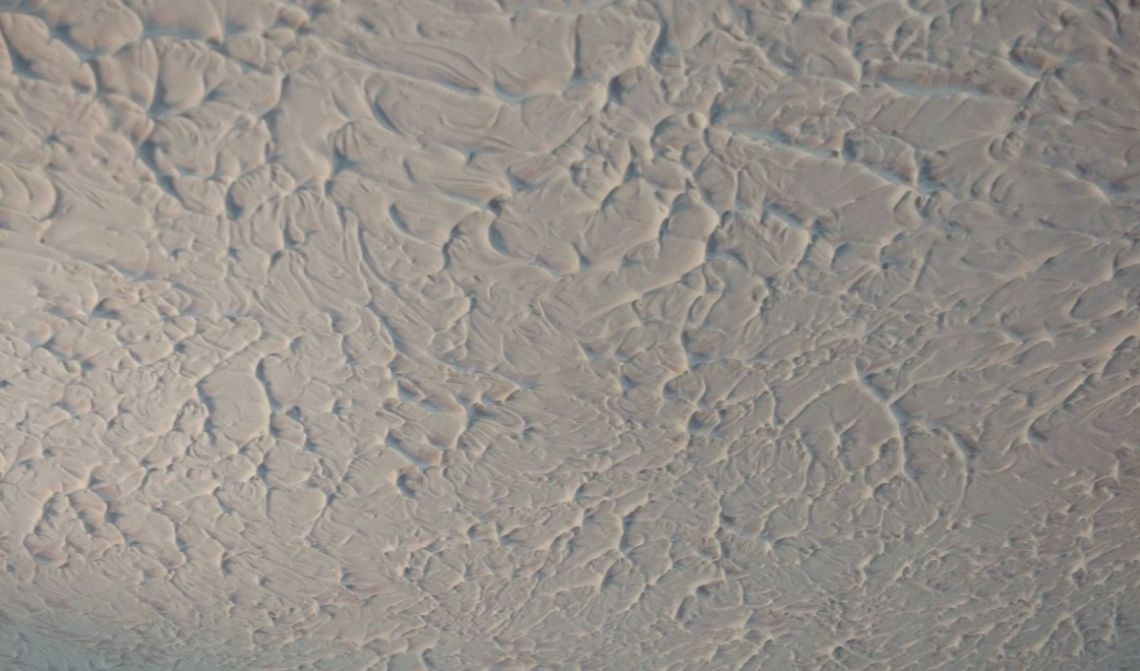
If you love textured walls, give the slap brush texturing a chance. It features various patterns with stomp or panda paw brushes. The schemes may vary according to the paintbrush type and slapping technique.
To form the slap brush texture, put the paintbrush into wet mud, and press it against the drywall. After that, draw the applicator back down.
Like most wall texture types, the first layer must be smooth. The second step is to create a unique, ridged texture by sweeping, stamping, and twisting.
This certain texturing enables you to make a replicable wall surface in anticipation of repairs. It works best in the living room and bedroom. One downside of slap-brush wall texture is it gathers dust in its deep crevices.
9. Popcorn Drywall Texture
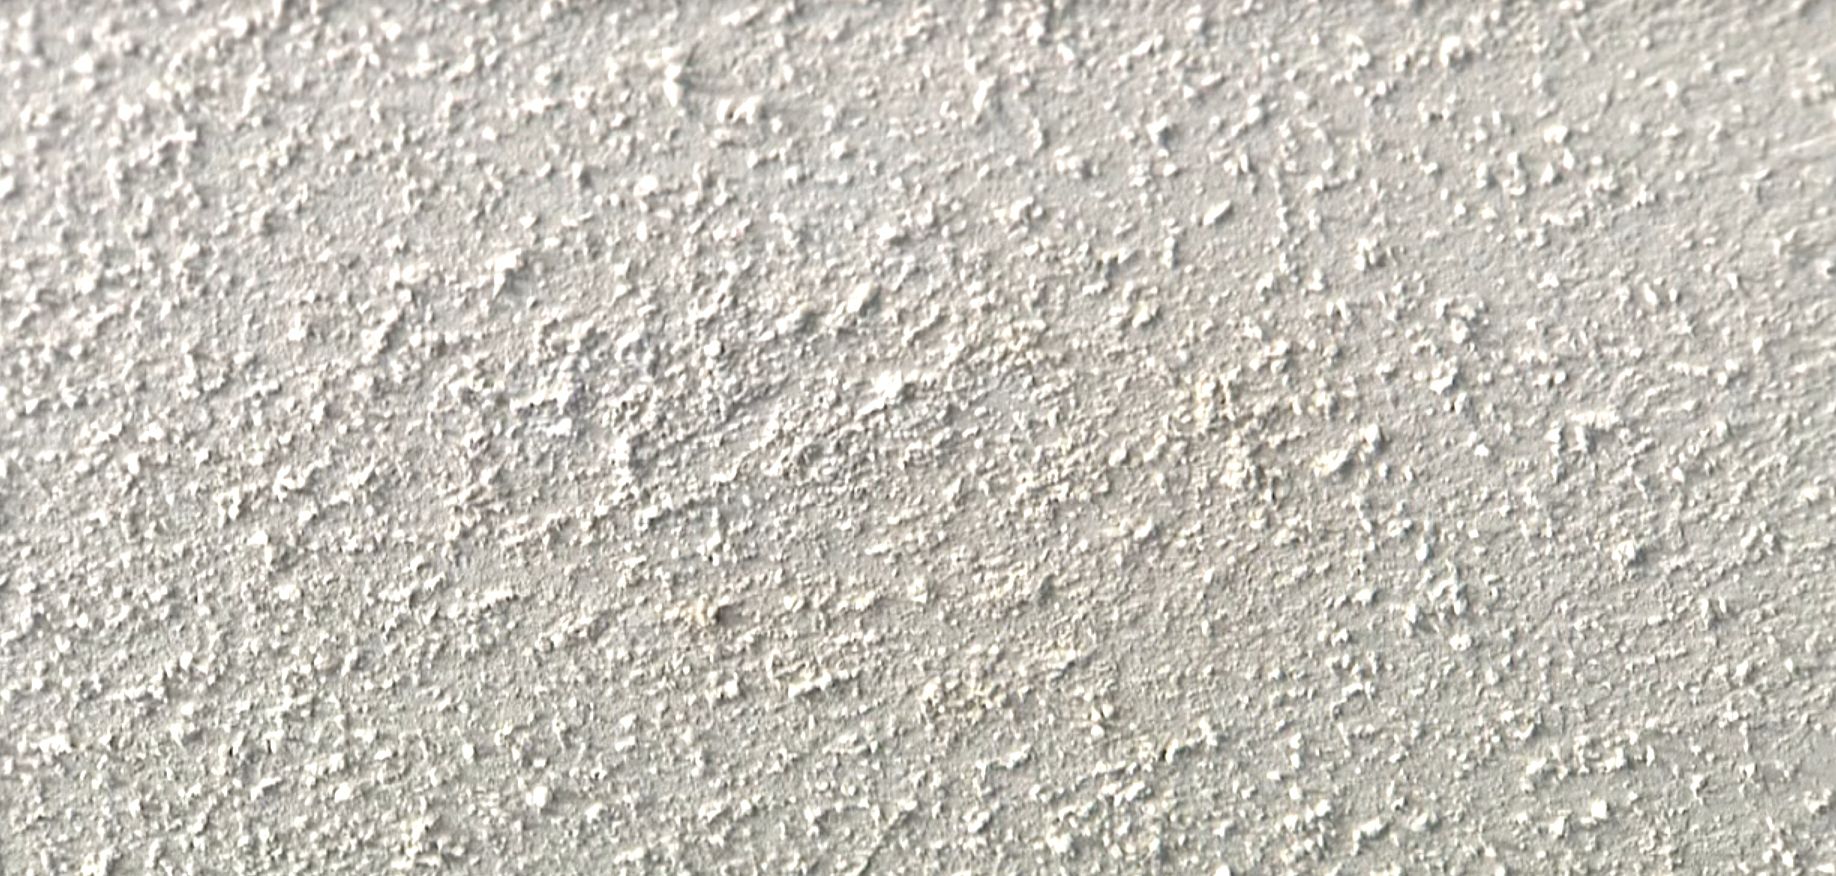
The popcorn texture is traditionally used for ceilings. It is known as cottage cheese wall texturing. Moreover, it works great for concealing many wall imperfections.
Before making the popcorn effect, you have to purchase sprayer, texture mix, and compressor. The spray will release the mix to cover your drywall. Once it is applied, paint the wall with the help of a paint sprayer.
Unlike other wall texture types, the popcorn technique helps reduce noise in your home because of thick application. Additionally, it delivers retro vibes to space in no time.
Remember that popcorn textured walls may contain asbestos. It surely comes with its health risks, and this certain texture is hard to remove. Lastly, it has an outdated look.
10. Knockdown Texture
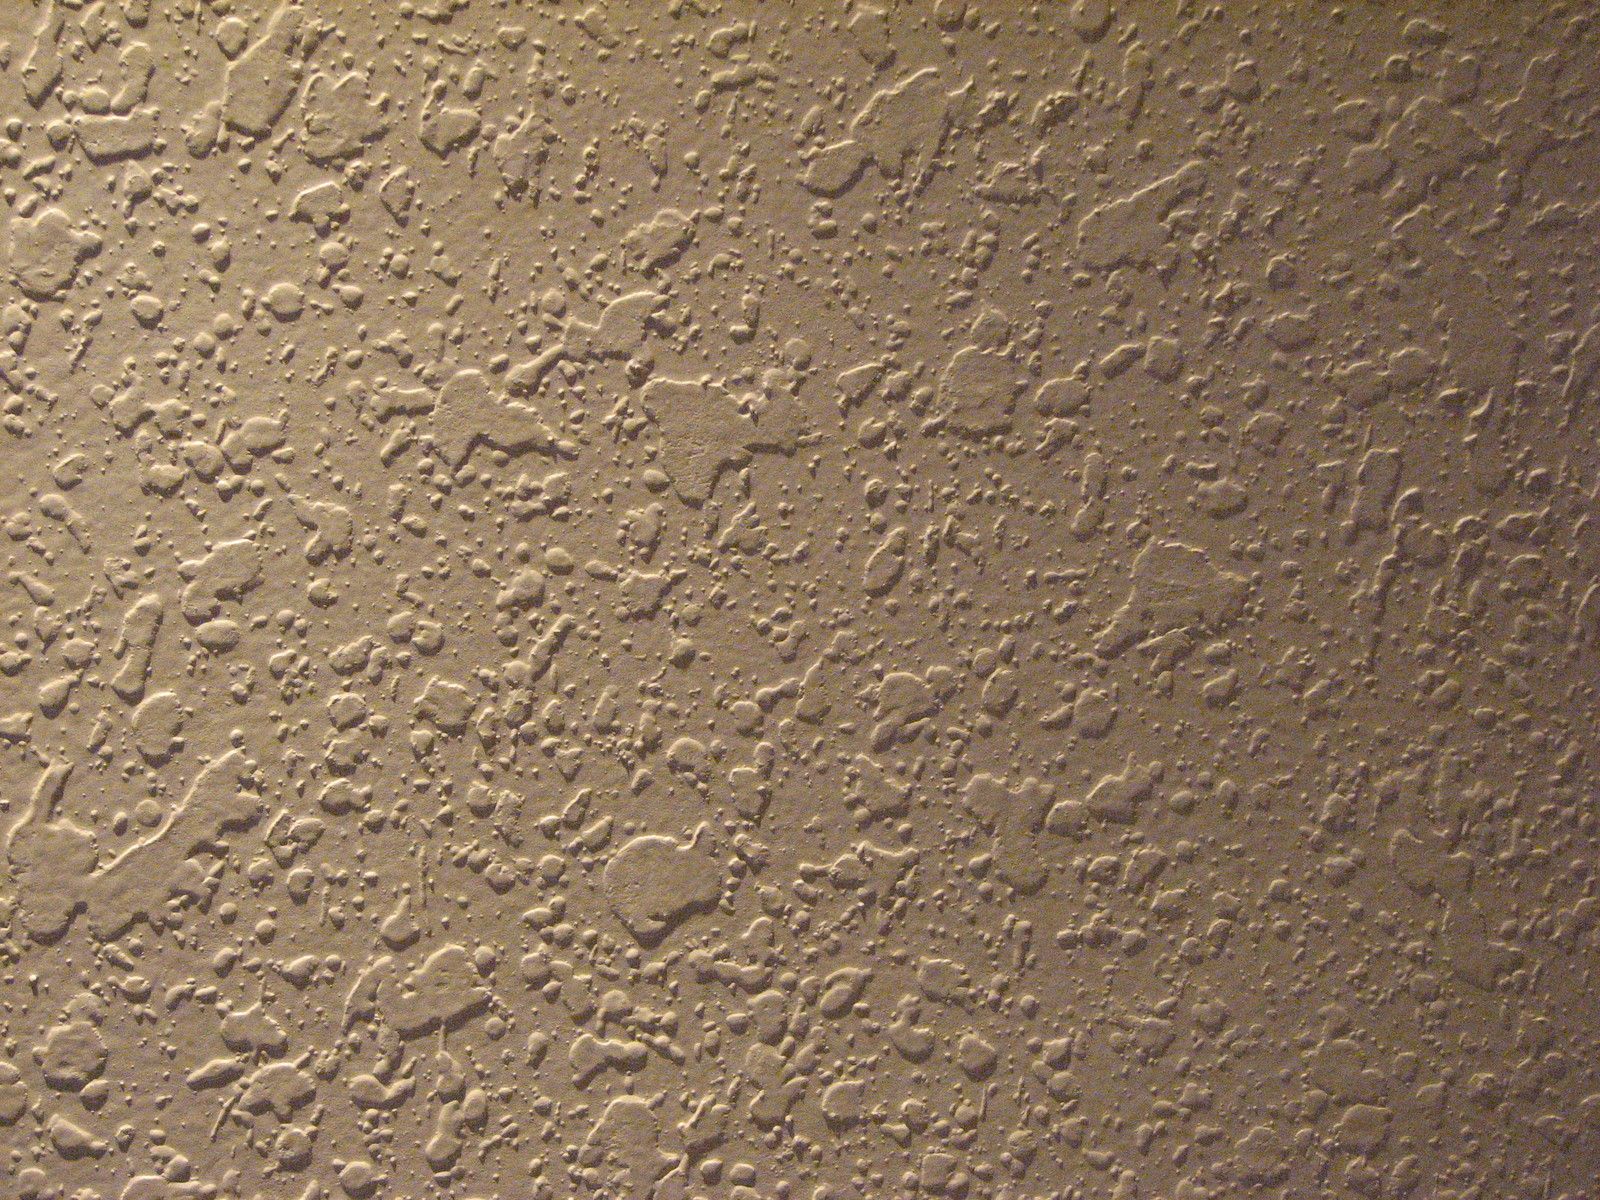
For you who do not favor smooth wall texture types, opt for knockdown texturing style. It almost looks like a stucco drywall one, but with a more subtle effect and less shadowing surface.
Furthermore, the steps for knockdown style are similar to orange peel texture. Before the drying process, drag a finishing drywall knife and go over the wet mud. Then, knock down the bumps. This will partially flatten the surface.
The knockdown texturing hides the drywall flaws well. It looks awesome and requires less DIY skills. The style is a perfect fit for a contemporary house. Moreover, it brings warmth and a visual dimension to your wall.
Compared to the orange peel wall texture, it is much messier. You also have to paint the drywall after the texturing steps. It is difficult to blend in case of repairs. Besides, it is not an affordable option.
***
Getting a drywall texturing is a tricky job. You have to plan everything meticulously, install, and finish it. Since different rooms need specific wall texture types, it is better to call the professionals.

